紀錄一下,如何在ubuntu安裝nodejs跟nginx,並演示從github clone專案。
首先更新apt
sudo apt update && sudo apt upgrade -y
安裝CURL + Nodejs 20.X
sudo apt install curl -y
curl -fsSL https://deb.nodesource.com/setup_20.x | sudo -E bash -
sudo apt install -y nodejs
驗證nodejs 與 npm的版本
node -v
npm -v
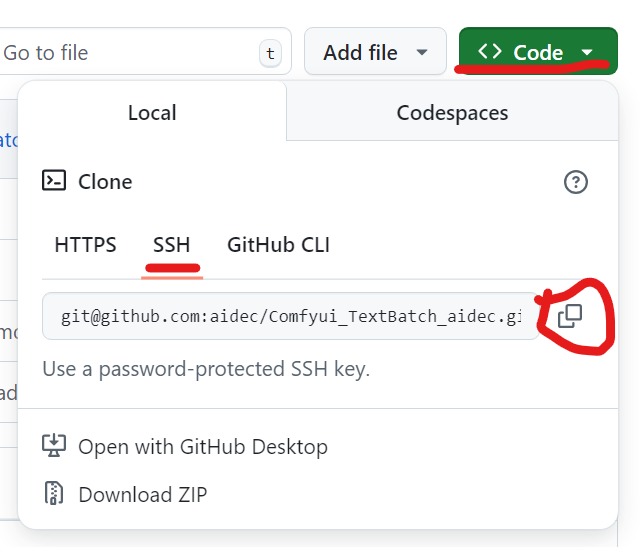
接著從github 拉下專案
#建立資料夾
mkdir /var/www
mkdir /var/www/myfcm_project

#安裝git
sudo apt install git -y
git --version

#拉下私人專案流程
#生成SSH密鑰
ssh-keygen -t ed25519 -C "替換成你的mail@gmail.com"

#顯示公鑰
cat ~/.ssh/id_ed25519.pub

#複製整串內容,例如
ssh-ed25519 AAAAC3Nz..............3G9EaJ19 替換成你的mail@gmail.com
添加到GitHub:
登入github > 點右上角頭像 > settings > SSH and GPG keys > New SSH Key
將剛剛複製的公鑰貼上,並且命名,然後保存。
回到ssh cmd進行驗證,輸入
ssh -T git@github.com
會顯示下面的訊息,輸入yes。
ssh -T git@github.com
The authenticity of host 'github.com (20.205.243.166)' can't be established.
ED25519 key fingerprint is SHA256:+DiY3wvvV6T-----------------SvHdkr4UvCOqU.
This key is not known by any other names.
Are you sure you want to continue connecting (yes/no/[fingerprint])

#成功的話會顯示這串
Warning: Permanently added 'github.com' (ED25519) to the list of known hosts.
Hi AidecStudio! You've successfully authenticated, but GitHub does not provide shell access.
接下來就能使用ssh的方式從github拉下專案,不用輸入密碼
cd /var/www/myfcm_project
#使用ssh的方式
git clone git@github.com:aidec/aaaaa.git

#使用一般方式,他會要求帳號密碼,這個就不需要上面的ssh流程(但建議用ssh)
#git clone https://github.com/aidec/aaaaa.git

拉下專案後
#進入專案
cd 專案名稱
#安裝專案依賴包
npm i
安裝pm2 (守護進程)
#安裝pm2
sudo npm install -g pm2
#app.js對應啟動文件
pm2 start app.js
#保存起來
pm2 save
#用於自啟動(避免重開機,沒自動運行)
sudo pm2 startup

設定nginx
#安裝
sudo apt install nginx -y

#啟動
sudo systemctl start nginx
#開機時自啟動
sudo systemctl enable nginx
#檢查狀態
sudo systemctl status nginx
檢查是否OK
訪問自己的站
http://你的網站ip/


Welcome to nginx!
If you see this page, the nginx web server is successfully installed and working. Further configuration is required.

For online documentation and support please refer to nginx.org.
Commercial support is available at nginx.com.

Thank you for using nginx.
到/etc/nginx/sites-available/ 添加一個conf
sudo nano /etc/nginx/sites-available/n.rto.tw

#conf內
server {
    listen 80;
    server_name n.rto.tw;

    location / {
        proxy_pass http://localhost:3000;
        proxy_http_version 1.1;
        proxy_set_header Upgrade $http_upgrade;
        proxy_set_header Connection 'upgrade';
        proxy_set_header Host $host;
        proxy_cache_bypass $http_upgrade;
    }
}

保存並退出(Ctrl+O, Enter, Ctrl+X)
[必要]
#ubuntu需要這個conf才是有效的(centos不需要這個) ,n.rto.tw 換成實際網址,ubuntu 有區分sites-available 跟 sites-enabled

sudo ln -s /etc/nginx/sites-available/n.rto.tw /etc/nginx/sites-enabled/

#重新載入nginx
systemctl reload nginx
更新專案
#進入專案
cd var/www/專案名稱
#拉取最新專案
git pull

#重啟pm2
pm2 restart app
文章轉載或引用,請先告知並保留原文出處與連結!!(單純分享或非營利的只需保留原文出處,不用告知)
原文連結:
https://blog.aidec.tw/post/ubuntu-nodejs-nginx-2025
若有業務合作需求,可寫信至: opweb666@gmail.com
創業、網站經營相關內容未來將發布在 小易創業筆記